I'm Walid
I'm an Apple developer,
About Me

Walid SASSI
Apple developer
Passionate Lead Apple Developer at Sephora (LVMH)| iOS Expert | Technological Innovator 🚀 Energetic and skilled Lead Apple Developer at Sephora, with a solid 3-year track record in crafting innovative iOS solutions for the beauty and retail industry. Previously, honed my skills as an iOS Developer at RATP.
Skill & Experience
Swift 90%
Objective C 70%
Unit testing 80%
Xcode 85%
Testimonials
Clients


Latest Articles
 31 December 2024
Reflecting on an Extraordinary Year: Turning 40 and Beyond
As 2024 comes to a close, I can’t help but look back on what has been a truly extraordinary year for me. This year marked a milestone: my 40th birthday. Beyond the personal significance of entering a new decade, this year has been a whirlwind of professional growth, exciting collaborations, and meaningful milestones. Swift Academy […]
 31 March 2024
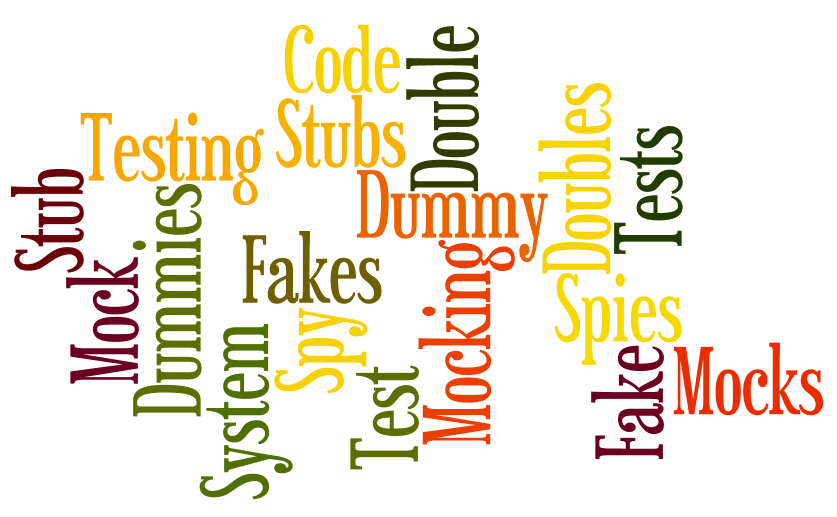
Utilizing SwiftyMocky for Swift Unit Testing
In the world of software development, writing unit tests is essential for ensuring the reliability and maintainability of code. However, creating effective unit tests can sometimes be challenging, especially when dealing with dependencies such as network requests, databases, or external services. This is where mocking frameworks come into play.
 10 March 2024
Reactive Programming – Leveraging RxSwift and Clean Architecture for Apple Pay.
In the ever-evolving landscape of iOS development, understanding and implementing payment solutions like Apple Pay is paramount. In the first part of this series, we delved into the intricacies of Apple Pay’s functionality in Swift. We explored its mechanisms, its integration into iOS applications, and the challenges developers face, particularly when handling payment-related interactions. One […]
 1 March 2024
Reactive Programming – from spaghetti code to clean architecture, implement Apple Pay Payment service using Proxy pattern as exemple (part 1)
Introduction In the realm of modern iOS development, where responsiveness, scalability, and maintainability reign supreme, the power of reactive programming shines brightly. At the heart of this paradigm lies RxSwift, a powerful framework that empowers developers to tackle complex asynchronous operations with elegance and precision. In this article, we delve into the transformative capabilities of […]
 20 August 2023
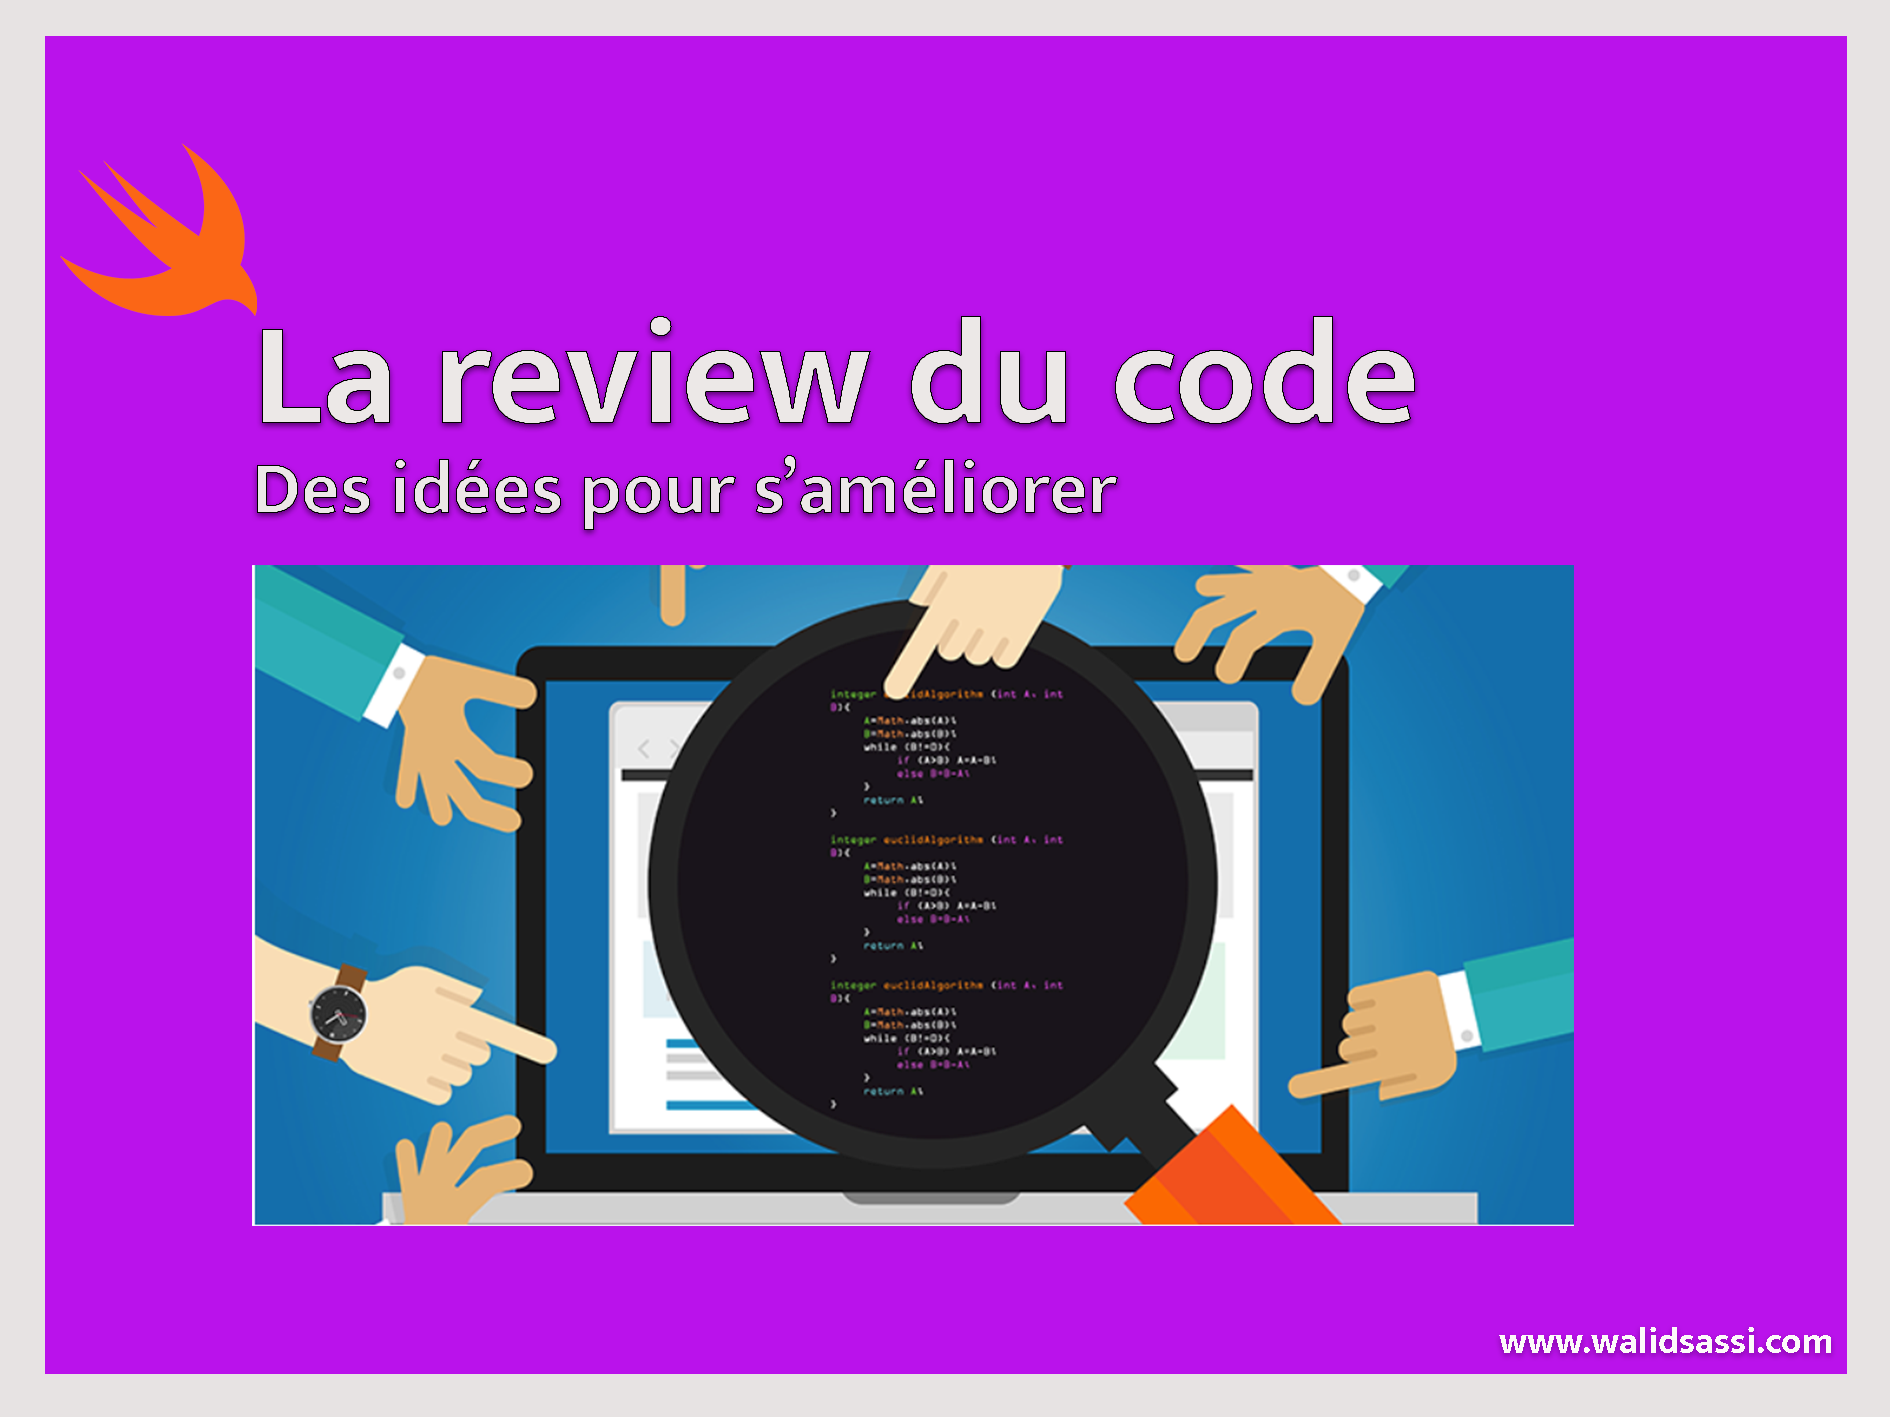
Code Review: Ideas for Improvement!
La revue de code constitue l'un des piliers pour assurer la qualité du produit développé. Ce process est vraiment délicat et peut engendrer même des conflits énormes entre développeurs qui dépassent parfois le cadre professionnel
 5 August 2023
Code kata exercise – Game of life
Before I begin, I want to express my gratitude to Swiftly for its excellent article on the Game of Life. His insights and guidance have inspired me to approach this code kata in a fresh and exciting way. In this article, I present my own perspective on the Game of Life, hoping to extend and […]
 23 July 2023
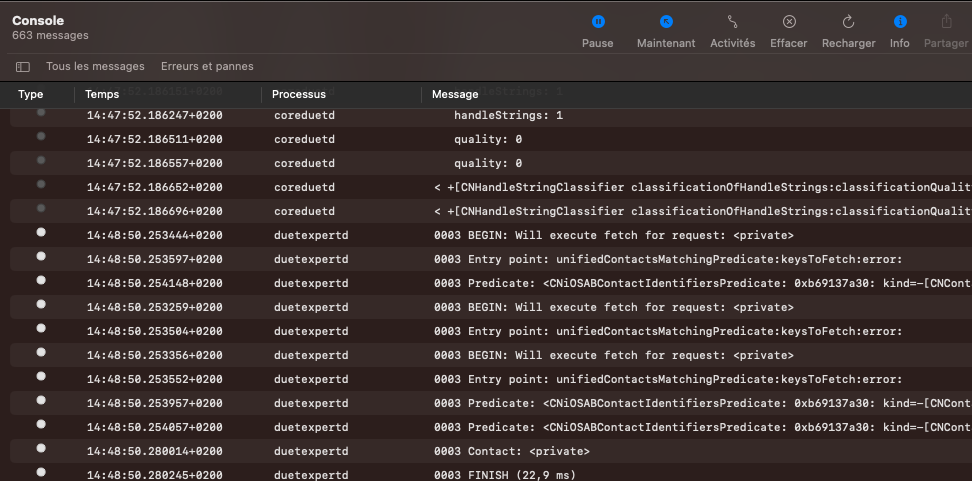
Gestion des logs à base de OSLog
OSLog est une nouvelle framework native Apple qui permet de récupérer des messages de log au niveau de votre application mobile. OSLog constitue un remplacement pour des solutions comme print, debugPrint.. Elle permet d’afficher les logs très clairs avec plusieurs types(trace, notice, warning, critical..) surtout avec la console actuelle de Xcode15. Dans cet article, on […]
 16 July 2023
Principes modernes de développement: Revoir le DRY
Qui parmi nous lors de revue du code de l’un de ses collègues ou même au moment du développement d’une nouvelle fonctionnalité ou la résolution d’un bug n’a pas constaté qu’une ou une petite ou grande partie du code se répète et quelque part il faut supprimer la duplication (question du bon sens humain 😀). […]
 21 May 2023
Le monde des Kata de programmation: jeu de la vie en iOS (création graphique en UIKIT et CoreGraphics)- Partie 2
Introduction Dans le premier article de cette série sur les kata de programmation, nous avons mis en place à travers une approche TDD, les structures de données et la logique métier qui constitue la base de notre solution. En effet, les deux structures de données Cell et Game sont normalement indépendants de toute implémentation graphique […]
 6 May 2023
Le monde des Kata de programmation: L’exemple du jeu de la vie en iOS (une approche fonctionnelle)- Partie 1
Dans la culture japonaise, les parents partageaient leur connaissances et savoir faire avec leur enfants. L’enfant commence à apprendre ce qu’on appelle des Kata (synonyme de “forme” ou “cadre” en français). On peut penser qu’un enfant d’un menuisier apprendra les Kata du métier du menuisier, et un enfant d’un pianiste apprendra les cadres de l’art […]
 20 March 2023
Démystifier des problèmes du test iOS CodinGame (approche TDD)
C’est quoi le CodinGame? Bonjour les développeurs, Durant le processus de recrutement, plusieurs entreprises d’IT (généralement des ESN, grandes entreprises de développement) vous envoient comme première étape du processus de recrutement le CodinGame. Si vous êtes familiarisé avec des sites de genre HackerRank, LeetCode, Codeforces…, le test CodinGame ne sera pas difficile normalement pour vous […]
 22 January 2023
Techniques modernes de Hot Reloading en iOS/Mac OS
Le Hot Reloading ou le rechargement à chaud désigne l'affichage en temps réel des modifications UI sans devoir relancer l'application informatique. Cela, permet de gagner énormément en terme de productivité vu qu'on aperçoit en temps réel les effets de notre changement sans recompiler toute l'application.
 17 August 2022
Création d’un EDSL avec ResultBuilder (une approche déclarative en Swift)
Durant des années, j’ai confondu langage de programmation et DSL (Domain Specific Language). Ne pensant pas que HTML pouvait être un DSL tout comme SQL, GHERKIN et bien d’autres. Dans l’écosystème d’Apple, on utilise très souvent les DSL sans les connaitre, par exemple, le fichier podfile de CocoaPods ou même SwiftUI. En effet, l’objectif de cet article est de simplifier le concept de DSL en présentant un […]
 20 July 2022
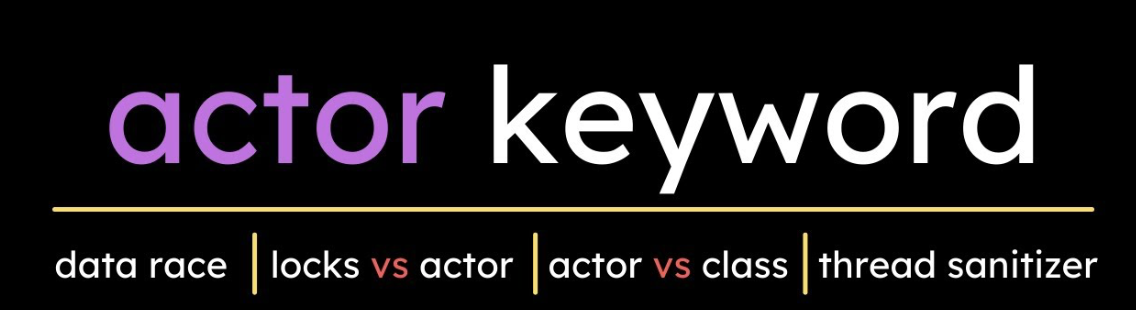
Gestion des accès concurrentiels en iOS avec les Actors
Depuis la version 5.5 de Swift, Apple a introduit un nouveau type de données dit Actor. Le nouveau type permet d’assurer que l’état d’un objet de type référence ne peut pas être modifié que par un seul thread. Cela permet d’assurer l’atomicité des opérations et d’éviter les problèmes dit “Data Races” ou accès concurrentiel à […]
 6 June 2022
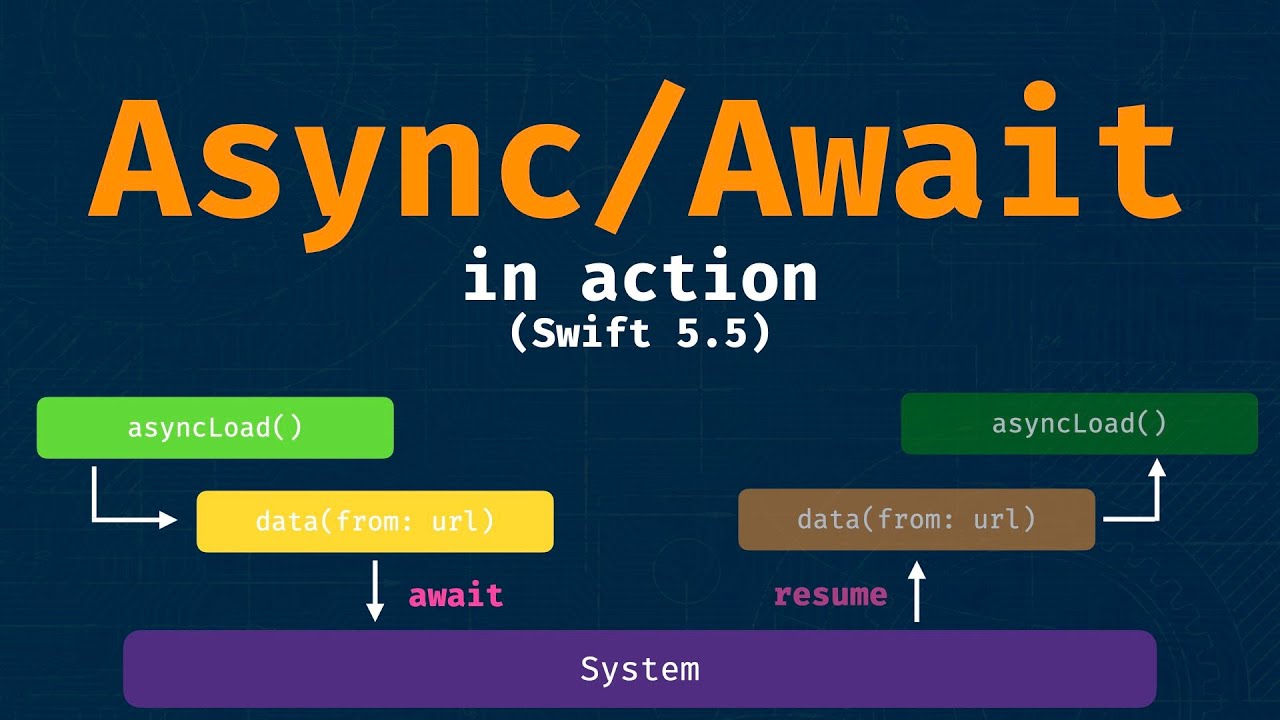
Test unitaire avec Async Await – Continuation et closures dans un client HTTP
Dans les deux premiers articles concernant async await et les tests unitaires, nous avons remarqué que la nouvelle API transforme d’une manière assez radicale la façon de tester (pas d’expectation, il faut ajouter async throws au niveau de chaque méthode de test…). Notre manière de tester ou d’écrire notre code de production change et on […]
 21 May 2022
Test unitaires avec Async Await – Utilisation de URL Loading System (URLProtocol) pour un client HTTP (Partie 2)
Introduction Dans le dernier article, nous avons présenté deux des trois méthodes pour mocker nos appels HTTP à savoir: Mocking à travers l’héritage. Mocking à travers les protocoles. On a expliqué que la première méthode ne peut pas être appliquée avec Async Await du à des restrictions techniques de l’API et que la meilleur façon […]
 8 May 2022
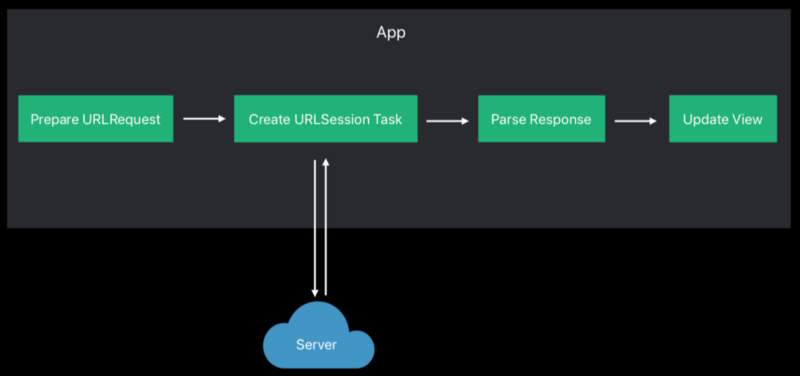
Test unitaires avec Async Await – comment rendre votre client HTTP indépendant de l’infrastructure? (Partie 1)
Introduction: Dans cette article, qui constitue une continuation de mon dernier article sur l’injection et l’inversion de dépendances à base de async await, j’essayerai de vous présenter les méthodes qui existent pour faire des tests unitaires de valeurs à base de async await et comment ensuite rendre nos tests indépendamment de async await ou d’autres […]
 18 April 2022
Injection et inversion de dépendances en pratique avec Async Await
Dans son livre Clean Code a handbook of software craftsmanship, Robert C. Martin connu sous le nom de oncle Bob définit deux concepts: injection de dépendances et inversion de dépendances. Plusieurs développeurs iOS comme moi ou d’autres, appliquent sans connaitre l’arrière plan et les avantages qui ont donnée naissance au pattern DI et du principe […]
Librairies et Frameworks, voyage dans le monde de la modularité
Dans mon dernier article sur l’utilisation de XcodeGen version multi framework, j’ai évoqué le sujet de librairie static et dynamique. Je pense que beaucoup de développeurs veulent connaître la différence concrète entre ses deux types de frameworks et même entre une framework et une librairie. C’est pour cela j’ai décidé de vous ramener dans ce […]
Comment XcodeGen peut faciliter la vie d’un développeur iOS ? (version Multi Frameworks)
Dans cette deuxième partie sur XcodeGen, nous passons à présenter comment on peut régénérer les xcodeproj de nos frameworks et de notre application principal. Lorsque j’ai travaillé sur ce sujet, j’avais un seul souci, comment je peux automatiser la création de ce pipeline dans one line command ? Je vais vous montrer mon approche 🙂 […]
Comprendre les closures en Swift (les captures List)
Dans notre vie de développeur iOS, on utilise fréquemment des closures. Ils sont tout simplement des fonctions sans nom qu’on l’utilise généralement pour effectuer des instructions suite à des appels de fonctions dites asynchrones. Longtemps, j’ai eu ce malaise de comprendre pourquoi Swift appelle les paramètres passés a une closure au moment de sa définition […]
Comment XcodeGen peut faciliter la vie d’un développeur iOS ? (version monolithique multi schemas)
XcodeGen est un outil qui permet de générer la structure d’un projet iOS sous Xcode en se basant sur un fichier .yml nommé par défaut project.yml. Le projet est maintenu en open source sur GitHub: Lien L’avantage majeur de XcodeGen provient du fait que le développeur n’aura pas a pousser (push) sur Git le fichier […]
Test unitaires – Comment prendre le contrôle de notre AppDelegate?
Partir sur des bases solides pour faire des tests unitaires est un sujet qui nécessite un peu de réflexion. En effet, le cycle de vie d’un test unitaire et comment XCTest le gère , peut augmenter le temps pris et la complexité de nos tests si on gère pas ce cycle correctement. La classe AppDelegate […]
Delegates & callbacks in Swift (part 2)
Introduction In the first part of this tutorial about delegation and callbacks, I had presented the delegation design pattern which is a communication design pattern between two objects based on one-to-one relation ship. We spoke about memory management and how Delegation pattern generates retain cycle and how we can resolve the issue using weak attribut. […]
Delegates & callbacks in Swift (part 1)
Introduction: CallBacks and Delegation are one of the often tools using by Swift developers. In this article, I try to explain the differences between them in point of view using and memory management. What is delegation? Delegation is a common design pattern where one class/struct delegates responsibility of implementing some functionality to another (the delegated class or struct). […]